

Enoch Kim
Blog Editor
How to Make Apple Juice with a Blender
Hot. So, so hot. The heat chokes your throat. You look up at the bright orange sun smiling down on you and manage to mutter, “Man, it’s hotter than last year! I would…I would love…” You would LOVE a drink. A cold, refreshing drink that will help you enjoy this summer heat.
As you retreat inside, you are already imagining different types of liquid traveling down your throat. Should you keep it simple: ice-cold water? No, you want some flavor, a kick to your drink. Maybe a can of pop straight out of the fridge? That sounds nice. But you want something fresh and organic. Something healthy. You are scanning your kitchen for something that will satisfy this craving when…Voilà! The answer is sitting on top of your countertop.
Sitting snug and cozy in the fruit basket, the apples that you picked up from the grocery just yesterday are looking especially red and tasty in their fruity glory. You can just imagine the crunch if you were to bite into one, but you stop and tell yourself, “You know what? Let me try something. I’m going to make myself some apple juice!” So, that is how you stumbled upon this article.
Fortunately, even if you don’t have fancy equipment, all you need to make great-tasting apple juice are some good apples, (any will do although we recommend these) a blender, and a strainer of sorts, like a clean cheesecloth or even pantyhose. Note: the pantyhose should also preferably be clean. While getting a juicer or stocking up on some delicious Ryan’s original juices is a good idea if you drink apple juice regularly, this recipe should satisfy your cravings for a brief while.
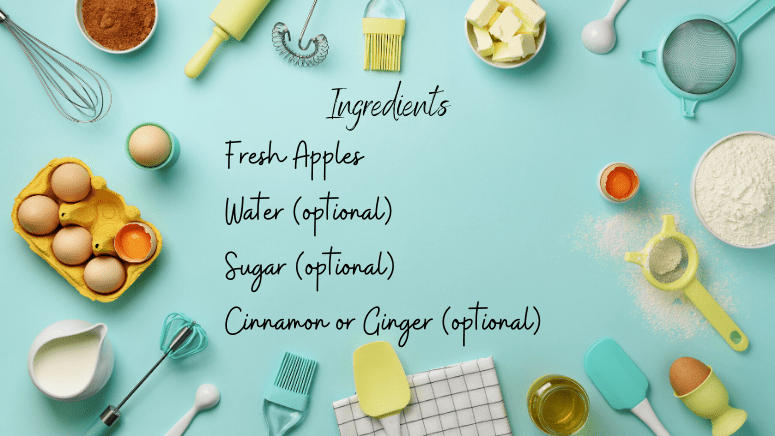
Ingredients:
Fresh apples – 3 pcs.
Water (optional).
Sugar (optional).
Other spices such as cinnamon or ginger root (optional).


Equipment:
Blender.
Peeler or knife.
Filter of sorts. Cheesecloth, nut milk bags, or even a pantyhose will do.
Procedure:
1. First, wash your apples thoroughly and peel them. Make sure to remove the core and the seeds. This is because although apples are healthy, apple seeds do contain chemicals that may be harmful when ingested in big amounts.
2. Dice up the apples to chunks to be easily blended.
3. Put the apple chunks in the blender and depending on how well they blend, add some water.
4. Prepare your choice of strainer and position it over your desired vessel.
5. Take the puréed juice and pour it into your strainer.
6. Squeeze the pulp in the strainer to get more juice.
7. Voilá! You have your freshly homemade juice!
Tips:
Generally, three medium-sized apples will provide a cup of juice. Add more apples, or other tasty fruits of your choice, if you want to make more juice! Add these fruits of your choice to procedure 1 and 2; make sure to wash, peel, or extract pits from these fruits as well.
If you made your juice in sanitary conditions, the shelf life of your home made apple juice should be 7 to 14 days if stored in the fridge.
If your juice tastes a little acidic, add 1-2 teaspoons sugar or apple varieties that naturally contain higher sugar content to sweeten it up. Also, don’t forget that you can add cinnamon!
You can also make apple juice in a pot. Search for different ways to make apple juice, if you are feeling extra-experimental!
Did you know? Most people think that the difference between apple cider and apple juice is that one contains pulp and the other one doesn’t. But according to an insider at Ryan’s Juice, “most people think [the difference] is the pulp, when in reality, it is just a marketing thing…”
Sources:
